
How to Open a Kang Vape: Complete Step-by-Step Guide
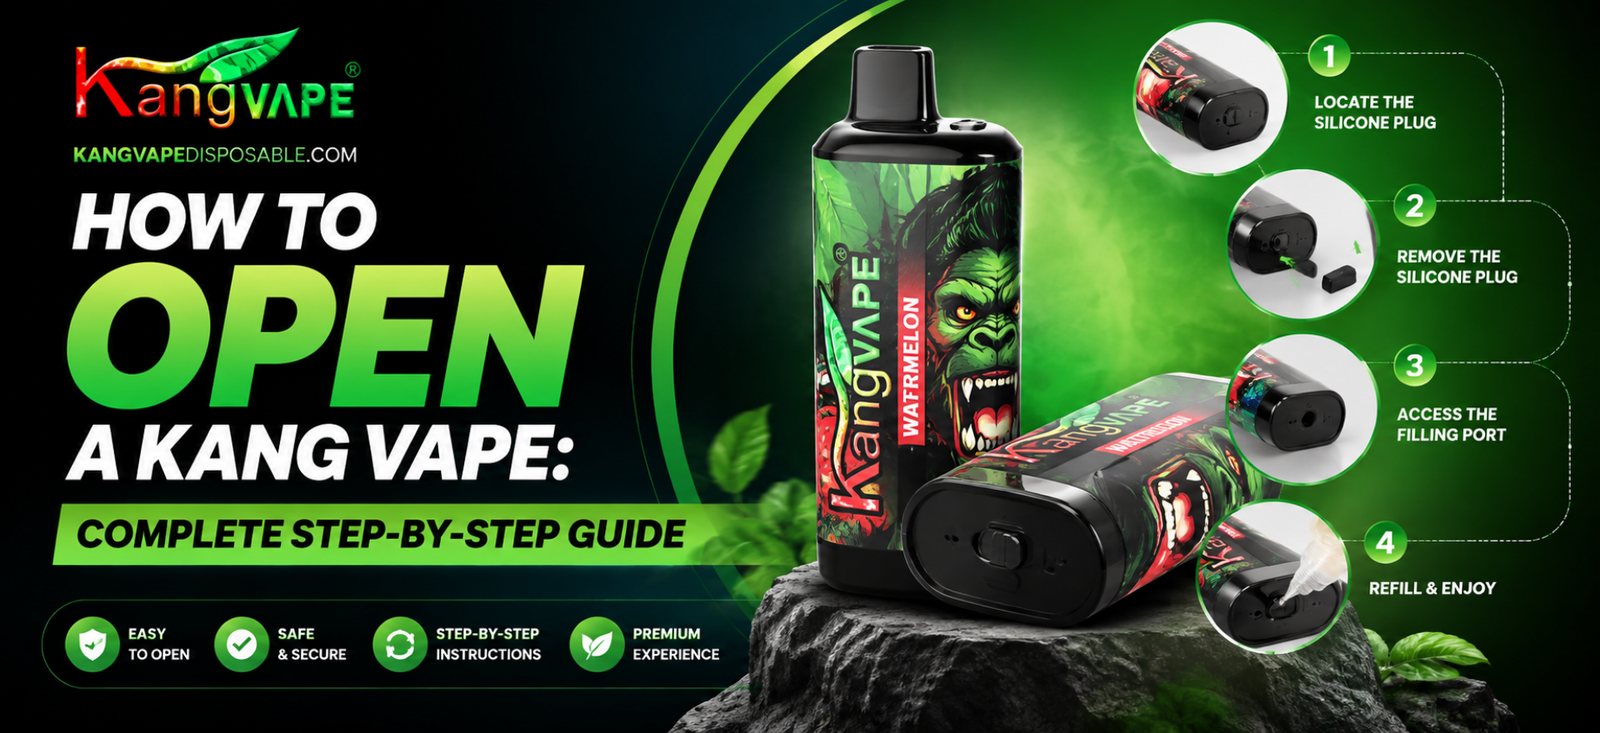
Disposable and rechargeable vapes are built to be simple, but there are a few situations where users genuinely need to open their device – whether that’s to check the internal components, troubleshoot a device that has stopped producing vapor, or simply understand how their Kang Vape is built before contacting support. This guide walks through the process safely, explains what’s inside the device, and covers the situations where opening a Kang Vape is actually the right move versus when it isn’t.
What Does “Opening” a Kang Vape Actually Mean?
Kang Vape devices, including the Onee Stick series and newer high-capacity models like the 60K and 70K Puffs lines, are sealed disposable-style systems even when they include a rechargeable battery. “Opening” the device typically refers to removing the outer shell or casing to access the internal battery, coil, and e-liquid chamber. This is different from normal use, which only involves the mouthpiece, the USB-C charging port, and any airflow adjustments the device offers.
Most adult vapers never need to open their device during normal use. The situations where it comes up are almost always troubleshooting-related: a device that won’t charge, one that produces no vapor despite a full battery, or curiosity about how the hardware is assembled.
Why Someone Might Want to Open Their Device
There are a few common reasons adult users look into opening a Kang Vape:
- Troubleshooting a malfunction. If a device isn’t hitting properly and basic fixes haven’t worked, some users want to inspect the coil or connection points directly.
- Curiosity about build quality. Since Kang Vape manufactures its own hardware in-house rather than outsourcing production, some users want to see the dual mesh coil system or battery setup for themselves.
- Disposal and recycling purposes. Certain local regulations require batteries to be separated from disposable electronics before disposal, which means opening the device becomes a practical necessity rather than a troubleshooting step.
Before You Start: Safety Considerations
Opening any vape device involves handling a lithium-ion battery, and that comes with real risks if done carelessly. A few things matter before attempting it:
- Never puncture, crush, or bend the battery: Damaged lithium batteries can overheat, swell, or in rare cases ignite.
- Work in a well-ventilated, dry area: away from flammable materials.
- Avoid using excessive force: Kang Vape devices are assembled with adhesive seals and small internal clips, and forcing the casing open with a knife or screwdriver increases the risk of puncturing the battery.
- Stop immediately if you notice swelling, heat, or a chemical smell: coming from the device, and dispose of it according to local battery disposal guidelines instead of continuing to open it.
If the goal is simply troubleshooting a device that won’t hit or won’t charge, it’s worth trying standard fixes first, since most performance issues don’t actually require opening the unit at all.
Step-by-Step: How to Open a Kang Vape Safely
Step 1: Confirm the Battery Is Not Damaged or Swollen
Before doing anything else, inspect the device’s casing for any bulging, cracks, or leaking. A swollen or damaged unit should not be opened manually – it should be taken to a battery recycling center instead.
Step 2: Locate the Seam
Kang Vape’s rechargeable models are typically assembled in two housing sections joined along a seam near the middle or base of the device. Run a finger along the casing to feel for this seam, usually just above or below the USB-C charging port.
Step 3: Apply Gentle, Even Pressure
Using a plastic pry tool (not metal, which can slip and cause injury or puncture internal components), gently work along the seam. Apply light, even pressure rather than prying at one point, which reduces the chance of cracking the plastic shell unevenly.
Step 4: Separate the Casing From the Internal Components
Once the seam gives way, the outer shell should separate from the internal chamber holding the battery, coil assembly, and e-liquid reservoir. Move slowly here, since the coil and battery are connected by small wires that can tear if pulled apart too quickly.
Step 5: Handle the Battery Separately
If the goal is disposal or recycling, remove the battery from the rest of the internal components once the casing is open. Batteries should be taken to a designated e-waste or battery recycling drop-off point rather than placed in regular household trash.
When You Shouldn’t Open Your Device
Opening a Kang Vape isn’t the right first step for most performance problems. Before attempting it, it’s worth trying:
- Cleaning the mouthpiece and airflow vents: since a blocked airflow path is one of the most common causes of weak vapor production.
- Fully charging the device: through the USB-C port and confirming the charging cable itself is working.
- Checking the puff counter or display: if the model includes one, to confirm the device hasn’t simply reached its rated puff capacity.
If none of these resolve the issue and the device is still under any applicable warranty or return window, reaching out through official support channels is usually a better option than opening the unit, since doing so typically voids any remaining coverage.
What’s Inside a Kang Vape Device
Understanding the internal layout can make the process less intimidating. Kang Vape’s rechargeable models are generally built around a few core components: a lithium-ion battery (often in the 950mAh range depending on the model), a dual mesh coil system designed to heat e-liquid evenly, an e-liquid reservoir that holds the flavor concentrate, and – on newer models – a small digital display that tracks battery level and puff count. Because Kang Vape designs and assembles its hardware in-house rather than relying on third-party factories, the internal layout tends to stay consistent across models within the same generation, which is part of why troubleshooting steps like these generally apply across the current lineup.
FAQs
Is it safe to open a Kang Vape device myself?
It can be done safely with care, using a plastic pry tool and gentle pressure, but it should be avoided if the battery shows any signs of swelling or damage.
Why would I need to open my Kang Vape?
The most common reasons are separating the battery for recycling purposes, troubleshooting a persistent malfunction, or general curiosity about the internal hardware.
Will opening my device void the warranty?
In most cases, yes. If the device is still within a return or warranty window, contacting official support is usually the better first step.
What’s inside a Kang Vape disposable or rechargeable device?
The core components typically include a lithium-ion battery, a dual mesh coil system, an e-liquid reservoir, and – on newer models – a digital display for battery and puff tracking.
Should I try other fixes before opening the device?
Yes, Cleaning the airflow vents, fully charging the battery, and checking the puff counter resolve most common issues without needing to open the unit.
Final Thoughts
Opening a Kang Vape is a straightforward process once the seam is located and the casing is separated with steady, gentle pressure, but it’s a step best reserved for battery disposal, recycling, or genuine curiosity rather than a first response to a device that isn’t performing well. For most performance issues, simpler fixes like charging, cleaning the airflow path, or checking the puff count resolve the problem without needing to open the device at all.